Description
SPECIFICATIONS
Brand Name: GOOGZON
Origin: Mainland China
Current Type: DC
Usage: SVC
Certification: none
Phase: single phase
is_customized: Yes
Model Number: XL4015

Dear customer: Thank you for choosing my store for shopping. The following are the matters needing attention for shopping:
A. Economic transportation: detailed tracking information will not be included. Most of the packages will cause delayed delivery within the expected delivery time, so you need to be patient
B. Each product link: There will be different option variants. If you do n’t know how to select the product you want, please contact me, I will be honored to solve this problem for you.
C. When you receive the package, there is product damage / product problem / error product and shipping problem, please contact me in time, I will solve it for you!
D. If you are a wholesaler / distributor, a large number of orders and quantities, to provide you with factory prices, and hope to be honored to reach a partner with you!
GOOGZON store: I wish you a happy life!

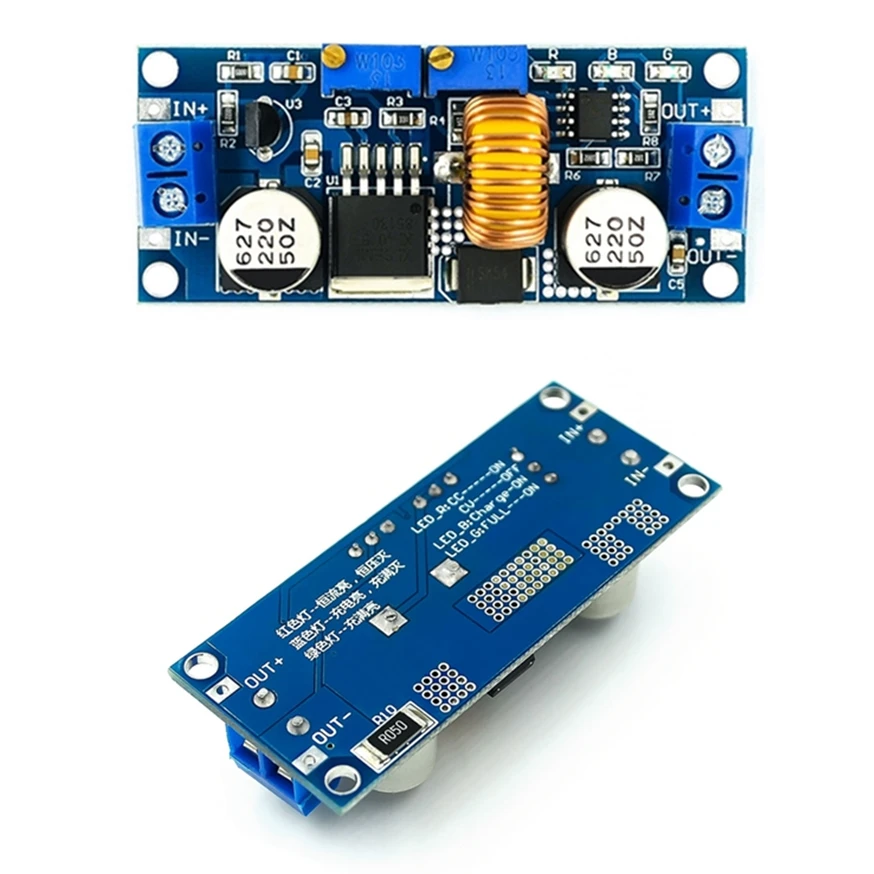
XL4015-RED
100% Brand New.
Size: 5.2 x 2.65 x 1.4cm (L x W x H)
Module Properties: non-isolated constant current and voltage module
Rectification: non-synchronous rectification
Input voltage: 8V-36V
Output voltage: 1.25V-32V
Output current: adjustable maximum 5A
Conversion efficiency: 95% (the highest)
Switching frequency: 180KHz
Output ripple: 50mV (max) 20M bandwidth
Load Regulation: ± 0.5%
Voltage Regulation: ± 2.5%
Operating Temperature: -40 °c to +85 °c
Load Regulation: ± 0.5%
Voltage Regulation: ± 2.5%
Operating Temperature: -40 °c to +85 °c
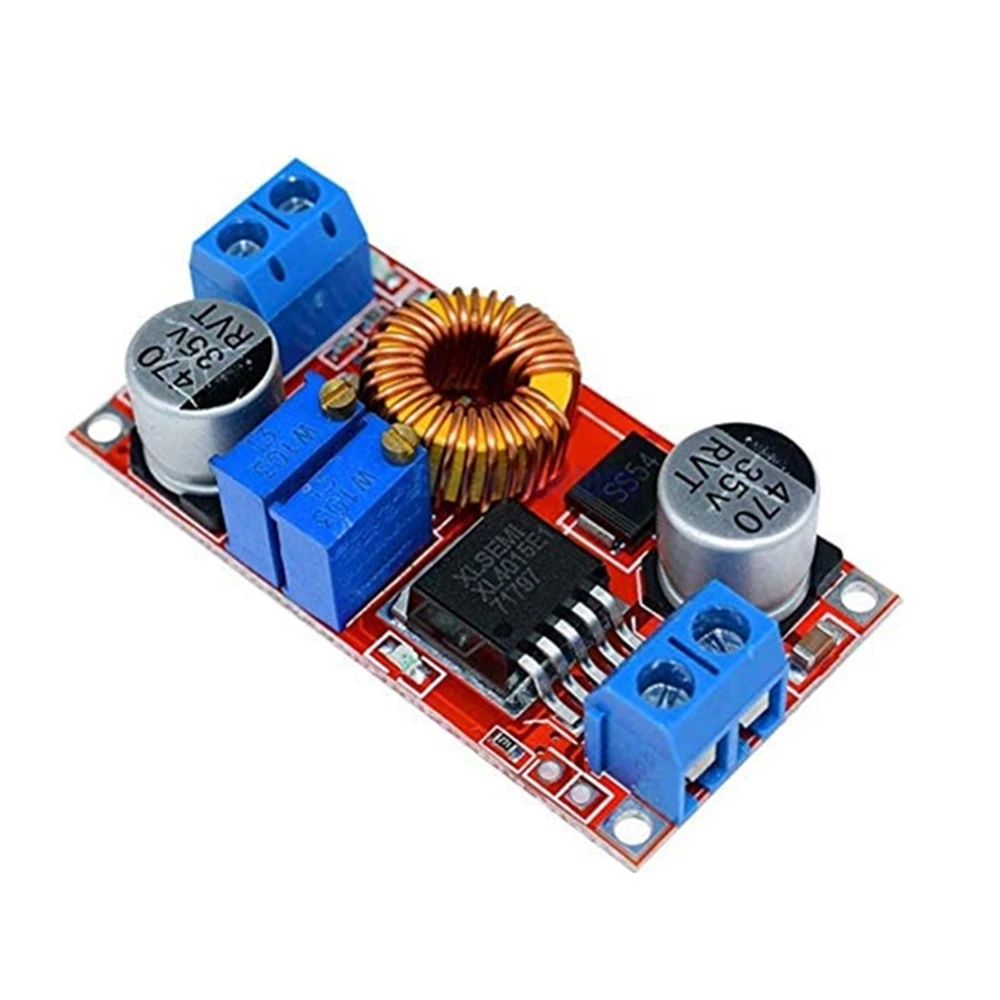
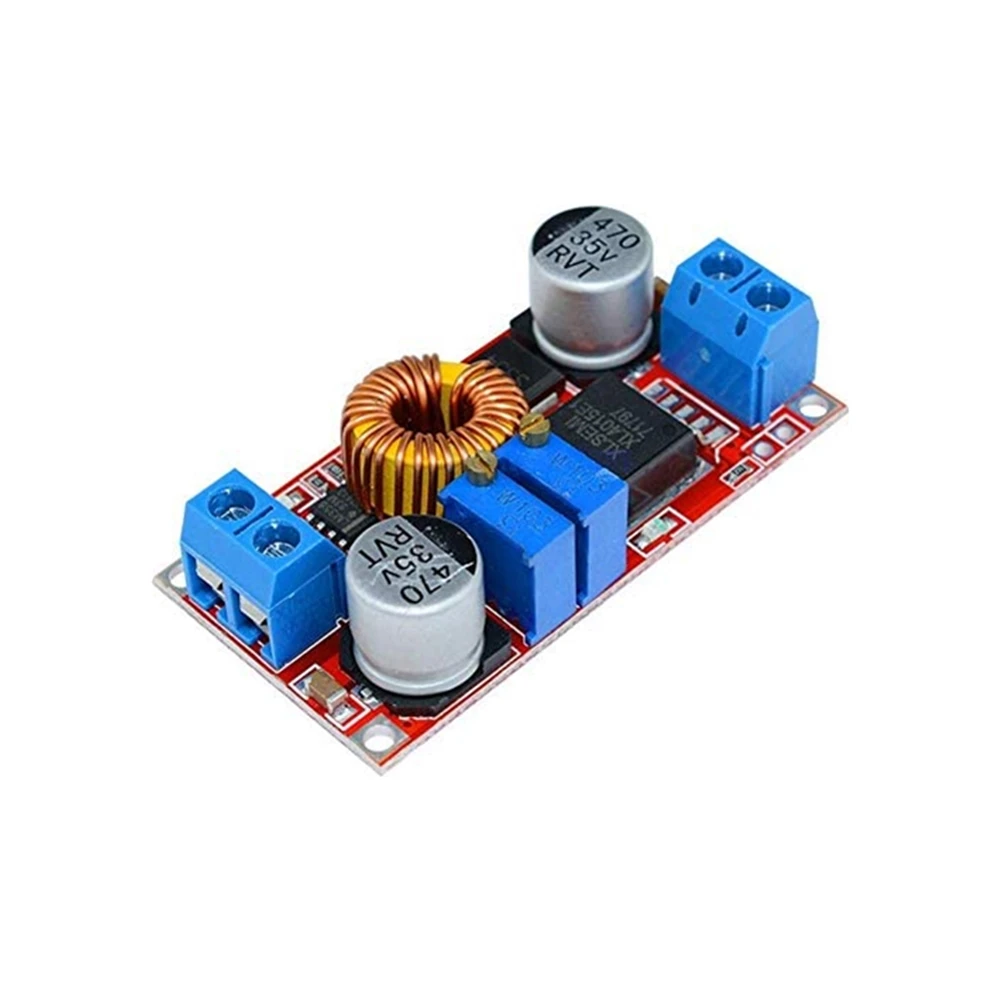
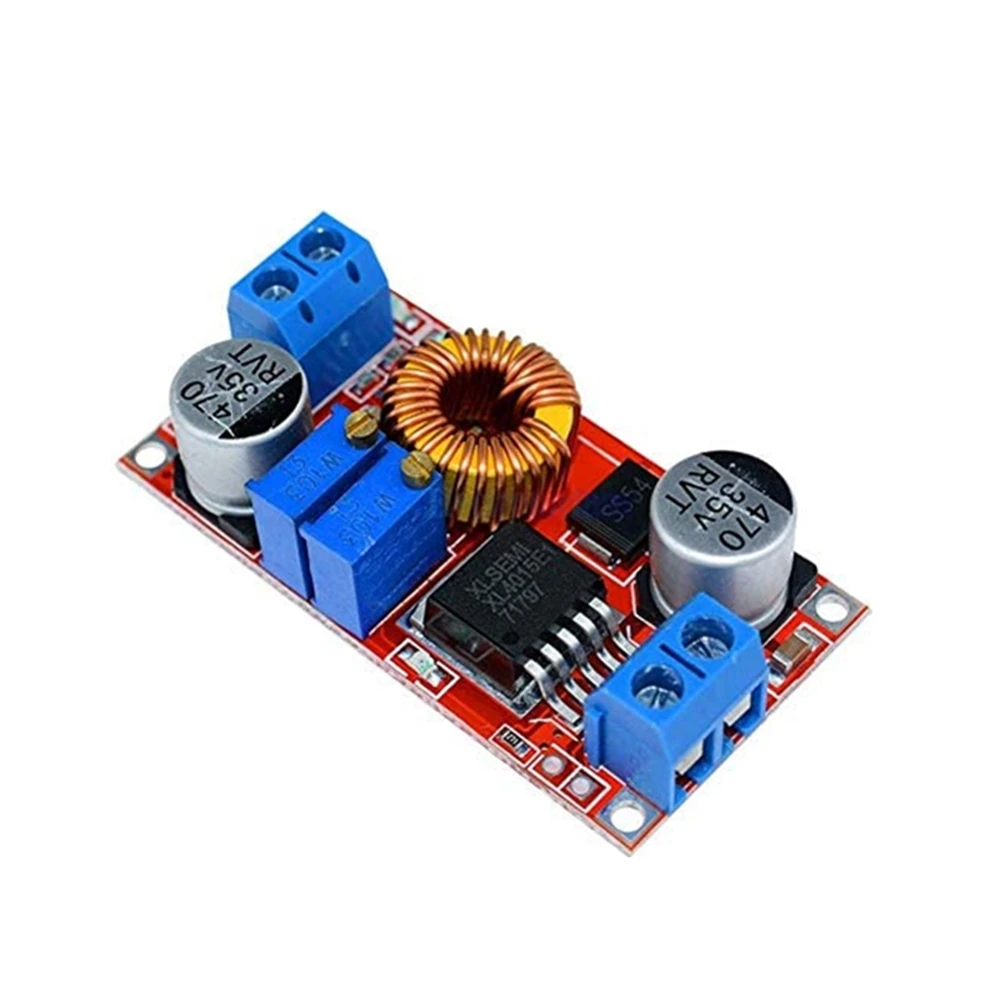
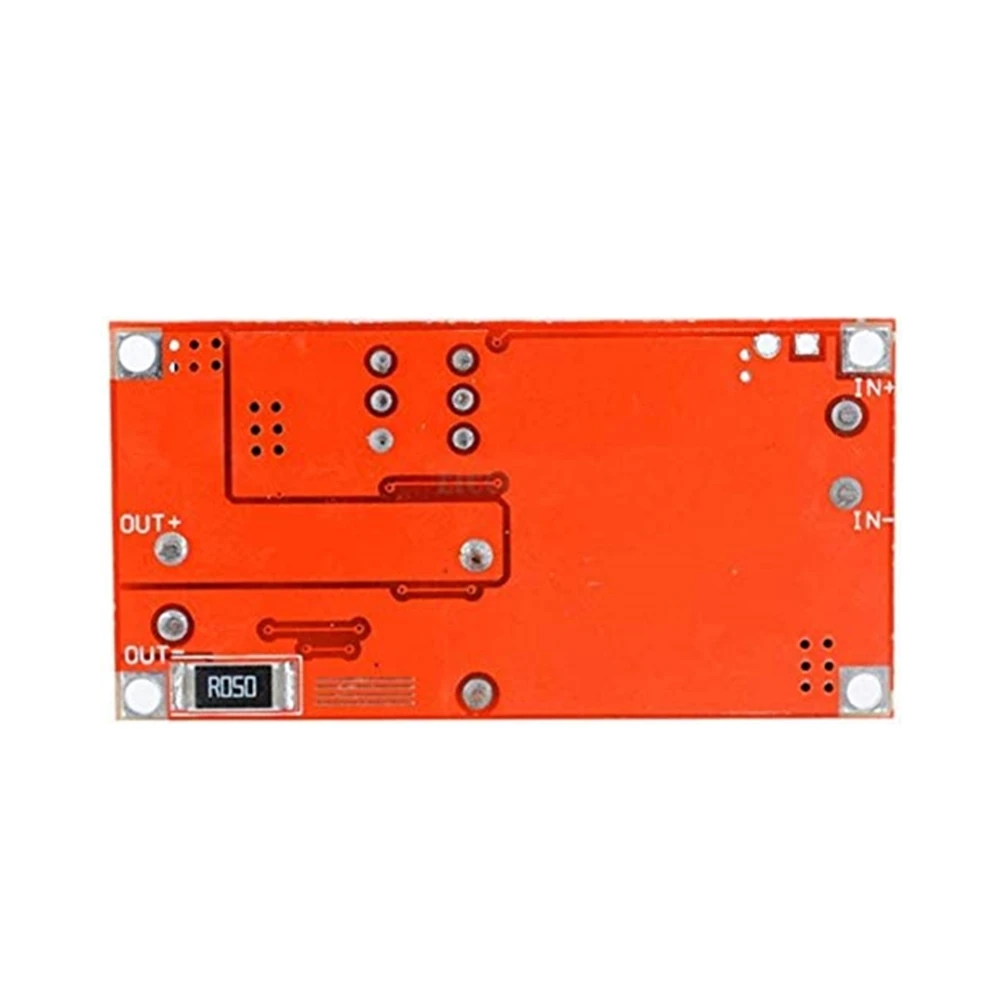
XL4015-Blue
1. High power, high efficiency, 5A, low ripple;
2. Three in one:
(1) Used as a normal step-down module with overcurrent protection capability;
(2) Used as a charger for various voltage lithium batteries, batteries, nickel-cadmium nickel-hydrogen batteries (battery packs), for solar panels, wind turbines, etc.;
(3) used as a high power LED constant current drive module;
3. There are two modes of constant voltage and constant current, and there are indicators to indicate which mode the module is currently in;
4. When used as a lithium battery charger, you can set the float voltage and charge current.
Is it charging or already full;
5. With current limiting protection, the module will not burn out even if the output is short circuited.
Module parameters:
Input voltage: 4-38V
Output voltage: 1.25-36V continuously adjustable
Output current: adjustable, up to 5A
Output power: up to 75W
Working temperature: -40~85 degrees
Working frequency: 180KHz
Conversion efficiency: up to 96 hundred
Short circuit protection: Yes (limited current 8A)
Over temperature protection: Yes (automatically turn off the output after over temperature)
Input reverse connection protection: None, (If necessary, please input a large current diode in the input string)
Installation method: 4 3mm silk
Wiring method: terminal block or soldering terminal, V-IN is input, V-OUT is output
Module size: length 61.7mm width 26.2mm height 15mm
Second, the scope of application
1. Use as a normal buck module with overcurrent protection
Instructions:
(1) Adjust the constant voltage positioner to make the output voltage reach the desired voltage value.
(2) Use the multimeter 10A current file to measure the output short-circuit current (directly connect the two test leads to the output terminal), and adjust the constant current potentiometer to make the output current reach the predetermined overcurrent protection value. (For example, if the current value displayed by the multimeter is 4A, then the maximum current can only reach 4A when you use the module, and the red constant voltage constant current indicator will be on when the current reaches 4A, otherwise the indicator will be off)
Note: When using in this state, since the output has a current sampling resistor of 0.05 ohms, there will be a voltage drop of 0~0.3V after the load is connected. This is normal! This voltage drop is not pulled down by your load, but falls to the sampling resistor.
2. Use as a battery charger
Modules without constant current function cannot be used to charge the battery. Because the voltage difference between the battery and the charger that consumes electricity is too large, the charging current is too large, causing damage to the battery. Therefore, the battery should be used at the beginning. Stream charging, when the charging reaches a certain level, it automatically switches back to constant voltage charging.
Instructions:
(1) Determine the float voltage and charge current of the rechargeable battery you need; (If the lithium battery parameter is 3.7V/2200mAh, then the float voltage is 4.2V and the maximum charge current is 1C, ie 2200mA)
(2) Under no-load conditions, the multimeter measures the output voltage, and adjusts the constant voltage positioner to make the output voltage reach the float voltage; (If charging the 3.7V lithium battery, adjust the output voltage to 4.2V)
(3) Use the multimeter 10A current file to measure the output short-circuit current (directly connect the two test leads to the output terminal), and adjust the constant current potentiometer to make the output current reach the predetermined charging current value;
(4) The charging lamp current defaults to 0.1 times the charging current; (the battery is gradually reduced during the charging process, gradually changing from constant current charging to constant voltage charging, if the charging current is set to 1A, then when When the charging current is less than 0.1A, the blue light is off, the green light is on, and the battery is charged.
(5) Connect the battery and charge it.
(Steps 1, 2, 3, and 4 are: input terminal is connected to the power supply, and the output terminal is not connected to the battery.)
3. As a high power LED constant current drive module
(1) Determine the operating current and maximum operating voltage at which you need to drive the LEDs;
(2) Under no-load conditions, the multimeter measures the output voltage, and adjusts the constant voltage positioner to make the output voltage reach the maximum working voltage of the LED;
(3) Measure the output short-circuit current with the multimeter 10A current file, and adjust the constant current potentiometer to make the output current reach the predetermined LED operating current;
(4) Connect the LED and test the machine.
(Steps 1, 2, and 3 are: input is connected to the power supply, and the output is not connected to the LED.)
Pagamento e Segurança
Vos informations de paiement sont gérées de manière sécurisée. Nous ne stockons ni ne pouvons récupérer votre numéro de carte bancaire.


