Descrizione
SPECIFICATIONS
Brand Name: TZT
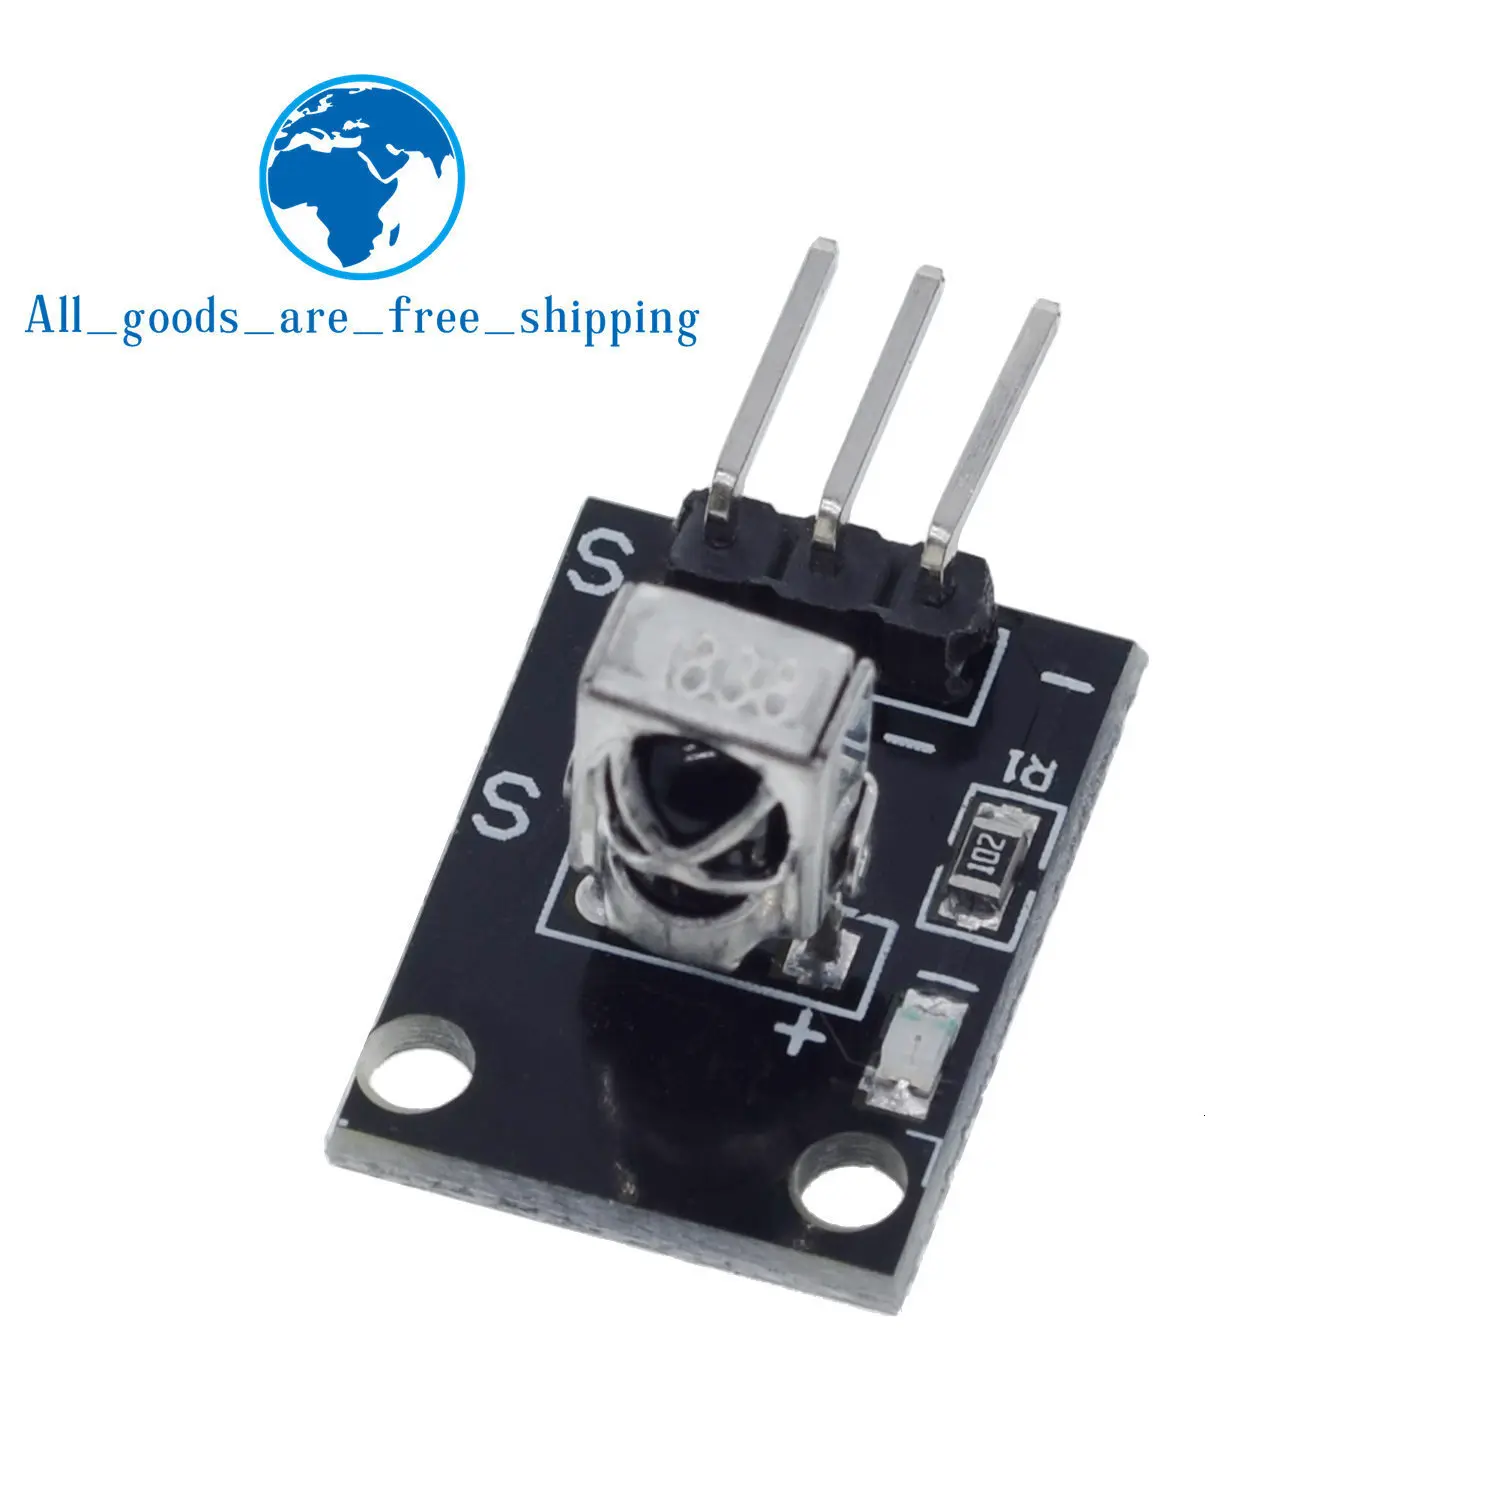
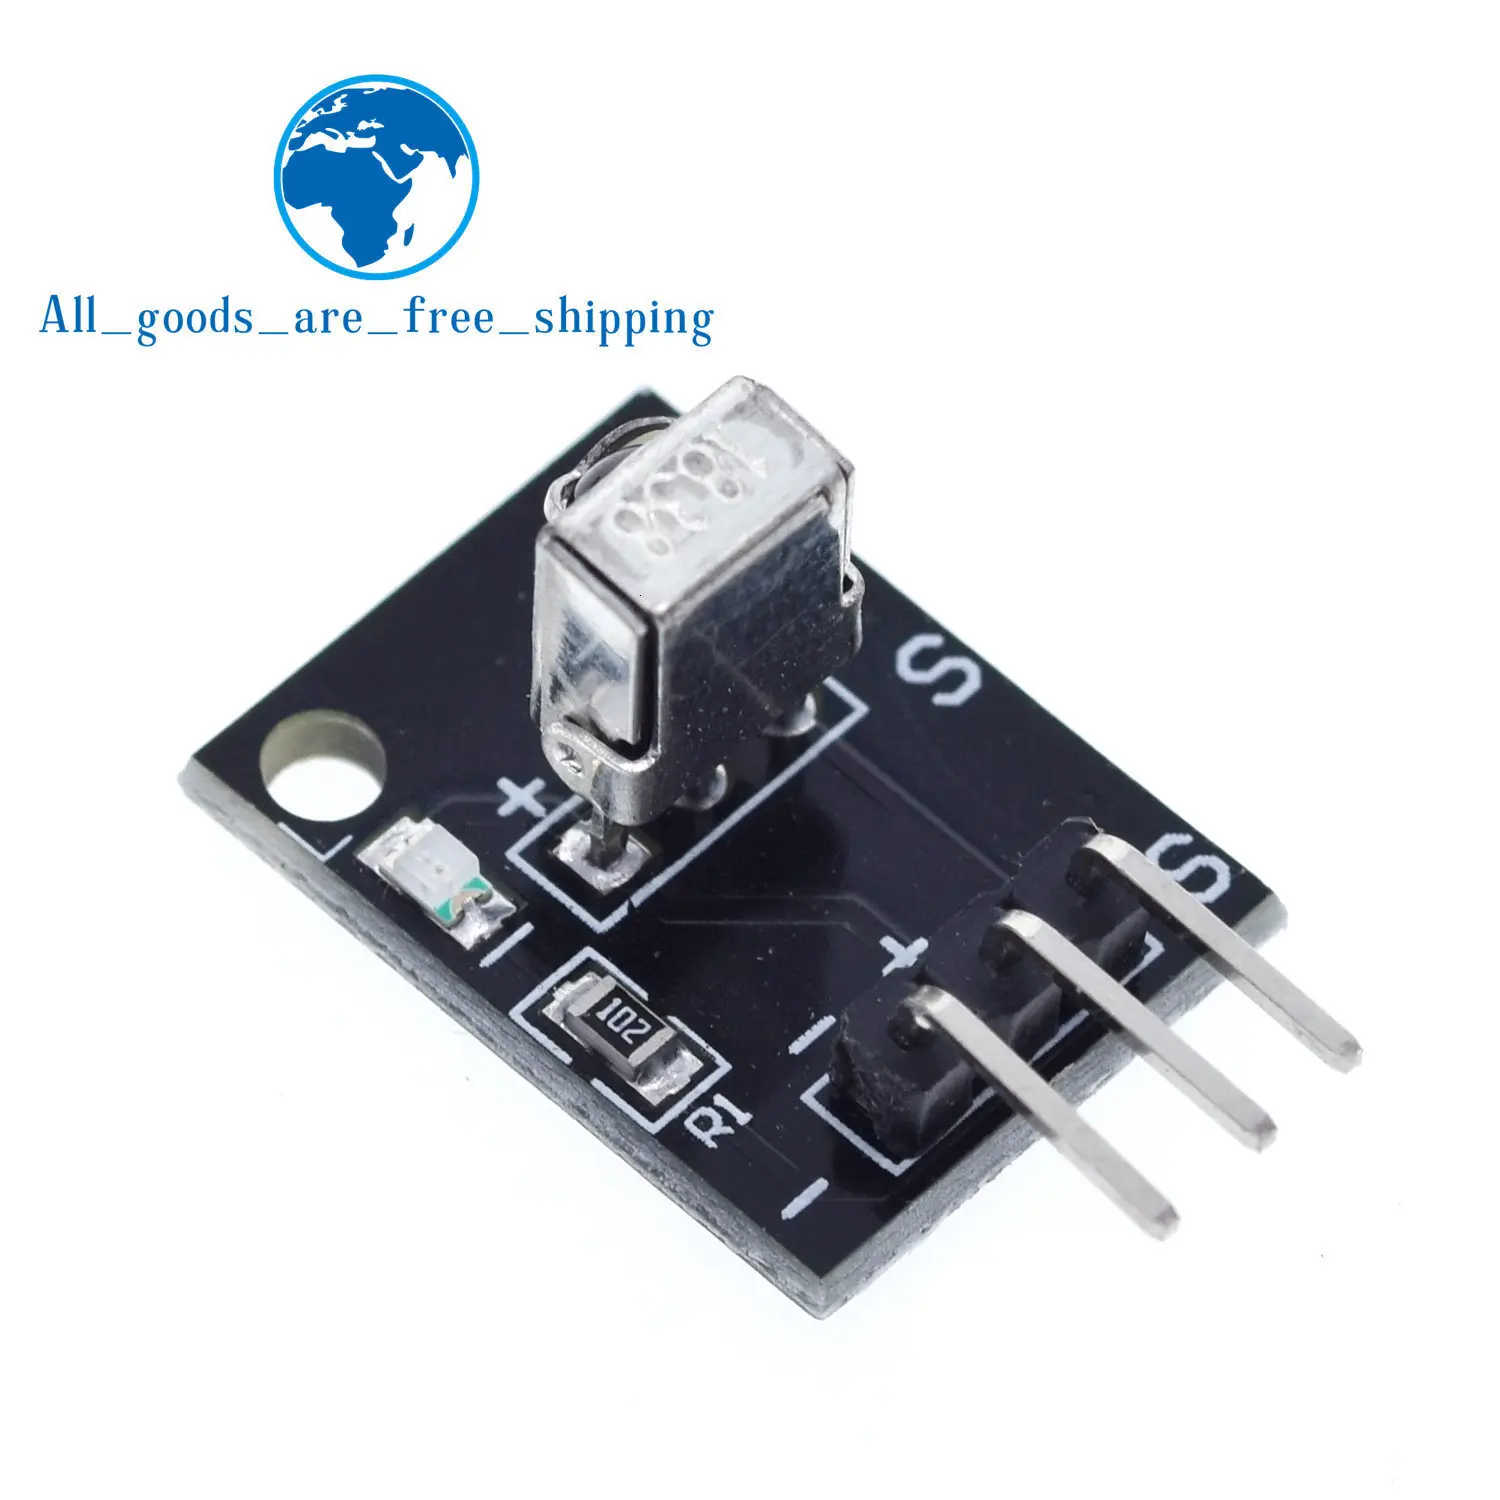
Model Number: IR Wireless Remote Control Module Kits
Origin: Mainland China
Hign-concerned Chemical: none
Condition: New
Type: Voltage Regulator
Supply Voltage: ..
Dissipation Power: ..
is_customized: Yes
Operating Temperature: -40-+85
Application: Computer
Package: DIY KIT
Functions: Electronic Module
Range of application: Switch And Sensor For Arduino STM


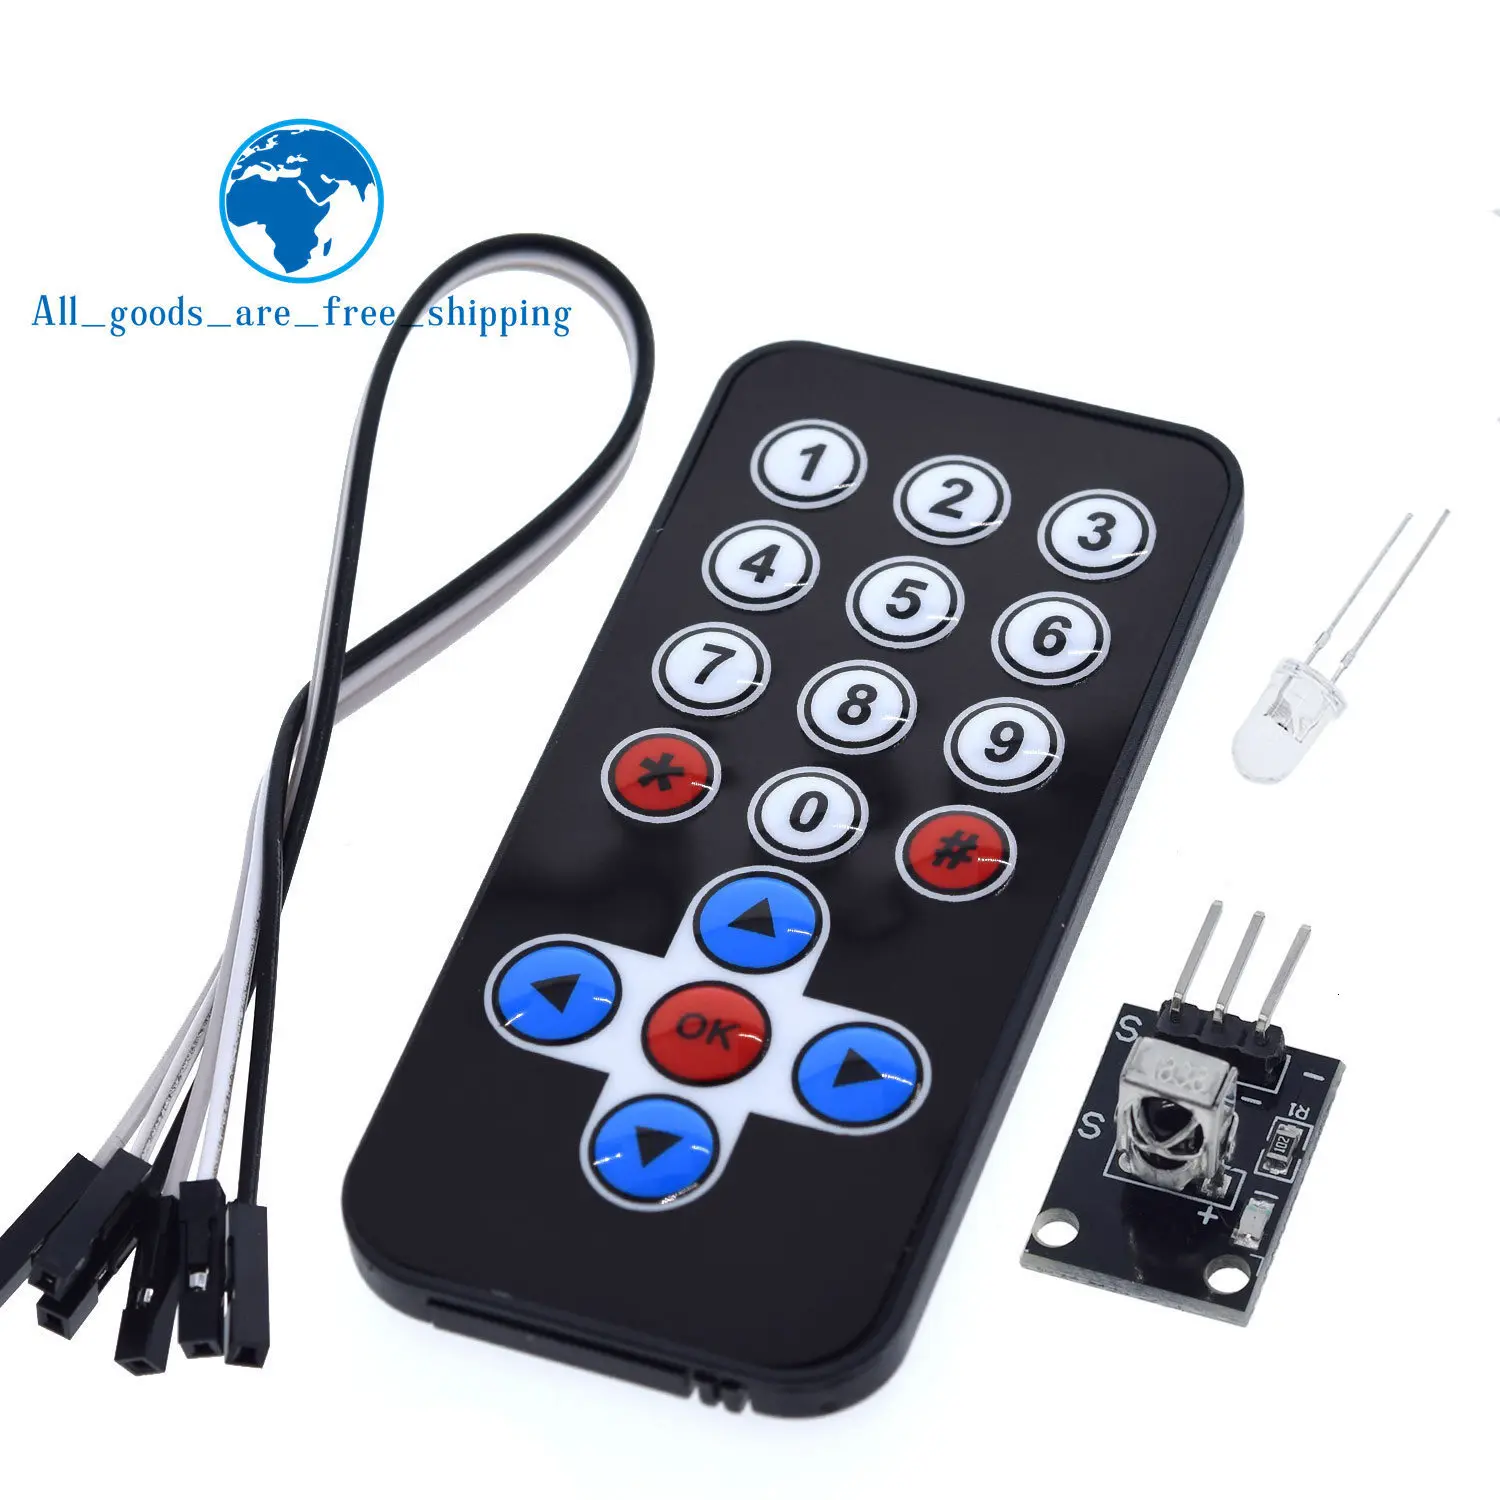
Hot Selling New Infrared IR Wireless Remote Control Module Kits For Arduino Wholesale
The remote control does not include batteries

Features:
- 1 Transmission Distance: 8m above (specific and surroundings, the receiver sensitivity and other factors)
- 2 Effective angle: 60 degrees
- 3 Sticking Material: 0.125mmPET, the effective life of 20,000 times.
- 4. Stable quality, cost-effective
- 5 quiescent current 3-5uA, dynamic current 3-5mA.
#include <IRremote.h>
int RECV_PIN = 11;
IRrecv irrecv(RECV_PIN);
decode_results results;
void setup()
{
Serial.begin(9600);
irrecv.enableIRIn(); // Start the receiver
}
void loop() {
if (irrecv.decode(&results)) {
Serial.println(results.value, HEX);
irrecv.resume(); // Receive the next value
}
}
Step 1: Assemble Circuit:

ou will need one Arduino for this. I used a UNO, but just about any Arduino should work. First wire up the infrared receiver that came with your kit. There are 3 wires, PWR, GND, and SIG, I used port 11 for SIG. Note! some readers have reported that their sensor has different wiring, double check it yourself.
Step 2: Download IR Library
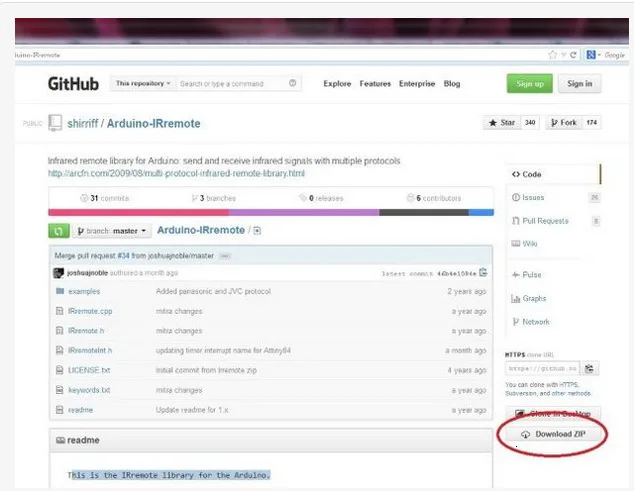
In order to reverse engineer the remote and obtain the codes for each button we are going to need to download and install the following library.
http://github.com/shirriff/Arduino-IRremote
Extract the file in your libraries directory. e.g. ( C:\electronics\arduino-1.0.5\libraries )
note: I had to rename the library because the name was too long, I just renamed it to IR.
Step 3: Add Library to sketch
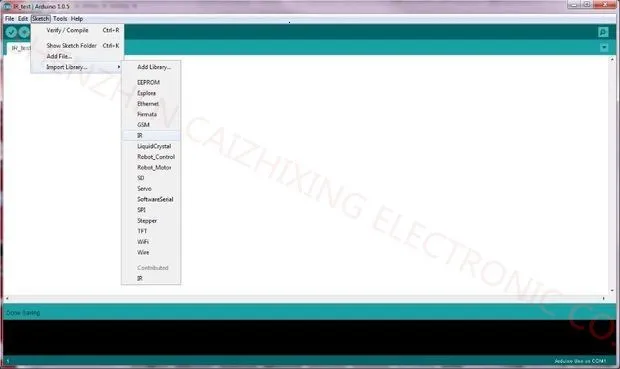
With the IR folder ( or whatever you named it) now in your libraries directory, we can import it into a new sketch.
Start a new sketch and the Click
Sketch->Import Library->IR.
Step 4: Paste Code and compile
Paste the following code into the new sketch. Then verify it compiles.
#include <IRemote.h>
int RECV_PIN = 11;
IRrecv irrecv(RECV_PIN);
decode_results results;
void setup()
{
Serial.begin(9600);
irrecv.enableIRIn(); // Start the receiver
}
void loop()
{
if (irrecv.decode(&results))
{
Serial.println(results.value, HEX);
irrecv.resume(); // Receive the next value
}
}
Step 5: Open the serial monitor
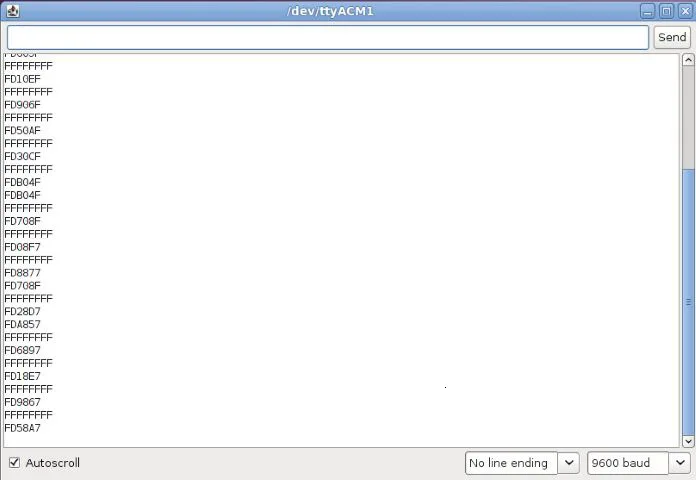
Connect the Arduino to your computer using the usb port, then upload the sketch. Open up the Serial Monitor, get the remote and press the buttons. Some hex codes should appear on the Serial Monitor.
Step 6: Record button codes
Step 7: Works on any remote!



지불 및 보안
Le tue informazioni di pagamento vengono elaborate in modo sicuro. Non memorizziamo i dettagli della carta di credito né abbiamo accesso alle informazioni della tua carta di credito.


